Home - Information Services - Get Help - How-to-Guides - Email & Calendar - Calendar - Share a Calendar - Create a Calendar and Share It
Create a Calendar and Share It
Create a Calendar and Share It in Outlook on
the Web
Create a Calendar and Share It in Outlook 2016
Create a Calendar and Share It in Outlook on the Web
- From the MyMC page, log in to your Office 365 account.
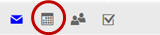
- In the lower-left corner of the page, click the
Calendar icon.
- Right-click on Your calendar and select
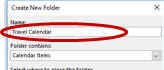
New calendar.

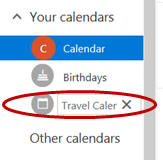
- Enter a name for the calendar.
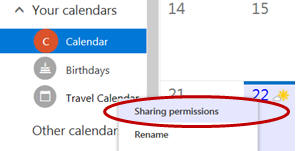
- Right-click the new calendar and select Sharing
permissions.
- Enter the email address of the first person you want to
share the calendar with.
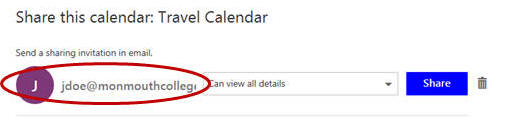
- Select the desired permission level.
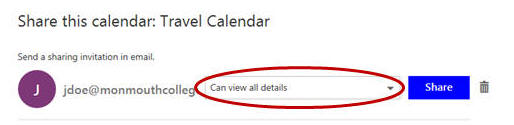
- Click Share.
Create a Calendar and Share It in Outlook 2016
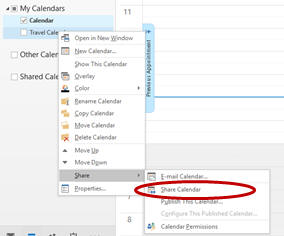
- Right-click on Your calendar and select
New calendar.

- Enter a name for the calendar.
- Right-click the new calendar and select Share
Calendar.
- Click To and select the email address of the first person you want to share the calendar with or enter the email address in the To field.
- If you give the person Editor access to the calendar,
then select the Recipient can add, edit, and delete
items in this calendar checkbox.
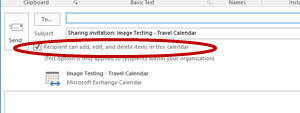
- Click Send.