Home - Information Services - Get Help - How-to-Guides - Expression Web - Pictures - Insert a Picture
Insert a Picture
- Click on the web page where you want to insert the picture.
-
On the Insert menu, select Picture – From File.
- Select the desired picture file.
Note: To see thumbnails of your picture files, click the More Options down arrow and select Large Icons.
- Click Insert.
- On the Accessibility Properties window, in the
Alternate text field, enter a short description of
the picture.
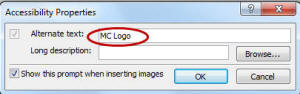
- Click OK.
- If necessary, resize the picture by dragging one of its corner
handles. (When you're finished resizing the picture, be sure to click the
Picture Actions button and select Resample
Picture to Match Size.)

- Save the web page.
- If desired, on the Save Embedded Files window, click the Rename button and enter a different file name for the picture.
- If necessary, click the Change Folder button and select your web site’s images or graphics folder.
- Click OK.