Home - Information Services - Get Help - How-to-Guides - Moodle - Moodle for Faculty - Groups - Auto-Create Groups
Auto-Create Groups
-
On the course home page, click the Actions (gear) icon and select Edit settings.

-
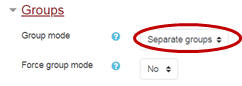
Under Groups, click the Group mode drop-down menu and select Separate groups.
-
Click Save and display.
-
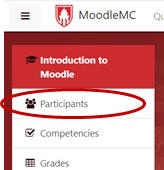
Click Participants, on the left navigation pane.
-
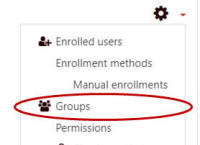
Click the Actions (gear) icon in the upper-right corner of the page and select Groups.
-
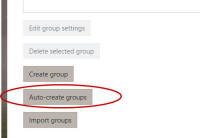
Click Auto-create groups.
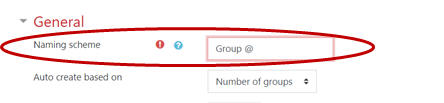
- Under General, if you want groups to be
numbered instead of lettered (e.g., Group 1 vs. Group A), then
change the @ symbol to the # symbol in the Naming scheme
field.
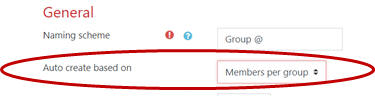
- By default, Moodle creates groups based on the number of
groups that you specify. If you'd rather have groups created
based on the members per group, then click the Auto
create based on drop-down menu and select
Members per group.
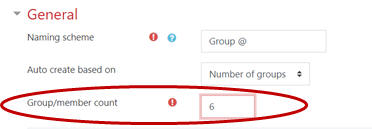
- In the Group/member count field, enter
the desired number of groups or members per group.
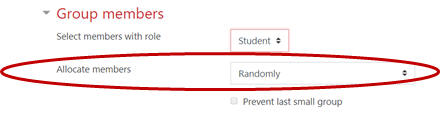
- Under Group members, click the
Select members with role drop-down menu and select
Student.
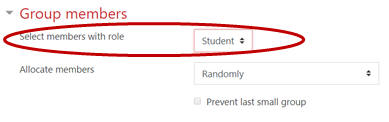
- By default, Moodle allocates group members randomly. If
you'd prefer to choose a different option (e.g.,
alphabetically by first name, last name), then click the
Allocate members drop-down menu and select the
desired option.
- Click Preview.
- Click Submit.