Home - Information Services - Get Help - How-to-Guides - Printing - Mobile Printing - Driver Print Instructions
Driver Print has two options: Simple (1) and Simple Direct (2).

The Simple (1) option is a two-step process. First, you send the print job to the mobile printing system by printing from within a program (e.g., Microsoft Word) on your computer just as you normally would. Second, you log in to the Everyone Print program and release the print job to the selected printer.
The Simple Direct (2) option is a one-step process. When you print from a program (e.g., Microsoft Word) on your computer, the print job goes directly to the printer. (You can add multiple printers to your computer using the Simple Direct method.)
Instructions for printing using the Simple (1) and Simple Direct (2) options are below.
Print a File Using the Simple (1) Driver Print Option
- Open a web browser and go to http://print.monmouthcollege.edu.
- Log in with your MC user name and password.
- Select Driver Print.

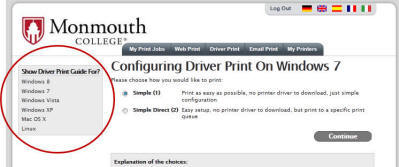
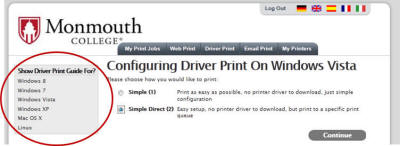
- Select your operating system at the bottom of the page.

- Select Simple (1).
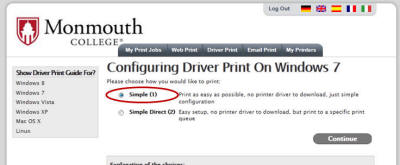
- Select the desired driver print guide.
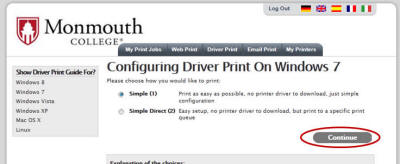
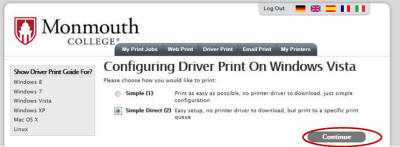
- Click Continue.
- Follow the instructions on the web page to configure the print driver on your computer.
Print a File Using the Simple Direct (2) Driver Print Option
- Open a web browser and go to http://print.monmouthcollege.edu.
- Log in with your MC user name and password.
- Select Driver Print.

- Select your operating system at the bottom of the page.

- Select Simple Direct (2).
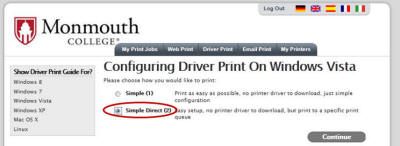
- Select the desired driver print guide.
- Click Continue.
- Follow the instructions on the web page to add the printer to your computer.
