Home - Information Services - Get Help - How-to-Guides - Report Manager - Printing - Tips for Printing Report Data in Excel
Tips for Printing Report Data in Excel
Before you print a report in Excel, you should view the worksheet in Print Preview to see what the printed report will look like.
If the data does not fit on one page (and you want it to), then you can try:
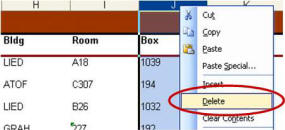
- Deleting unnecessary columns
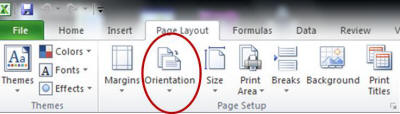
- Changing the worksheet orientation
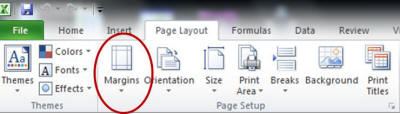
- Changing the worksheet margins
- Reducing the font size
- Shrinking the data to fit on one page
- Right-click the column letter and
select
Delete.
Change the Worksheet Orientation
- On the Page Layout tab, click Orientation and
select Landscape.
- On the Page Layout tab, click Margins and
select the desired option.
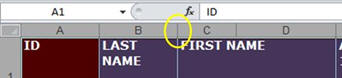
- Click the Select All button.

- On the Home tab, click the font size down arrow and select a smaller font
size.

Note: After you change the font size, you should resize all of the columns to best fit the data again. To do this, click the Select All button and then double-click the vertical line between any two column letters.
Shrink Data to Fit on One Page
If you have one or two columns that appear on another page, then you can try shrinking the data so that they will fit on the same page as the other columns.
To shrink data:
- On the Page Layout tab, click the Width down
arrow and select 1 page.
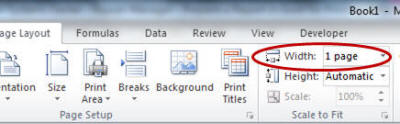
Note: Shrinking the data shrinks the data on the printed page, not on the worksheet. After you shrink data, you should view the worksheet in Print Preview to make sure that the data is not too small to read.